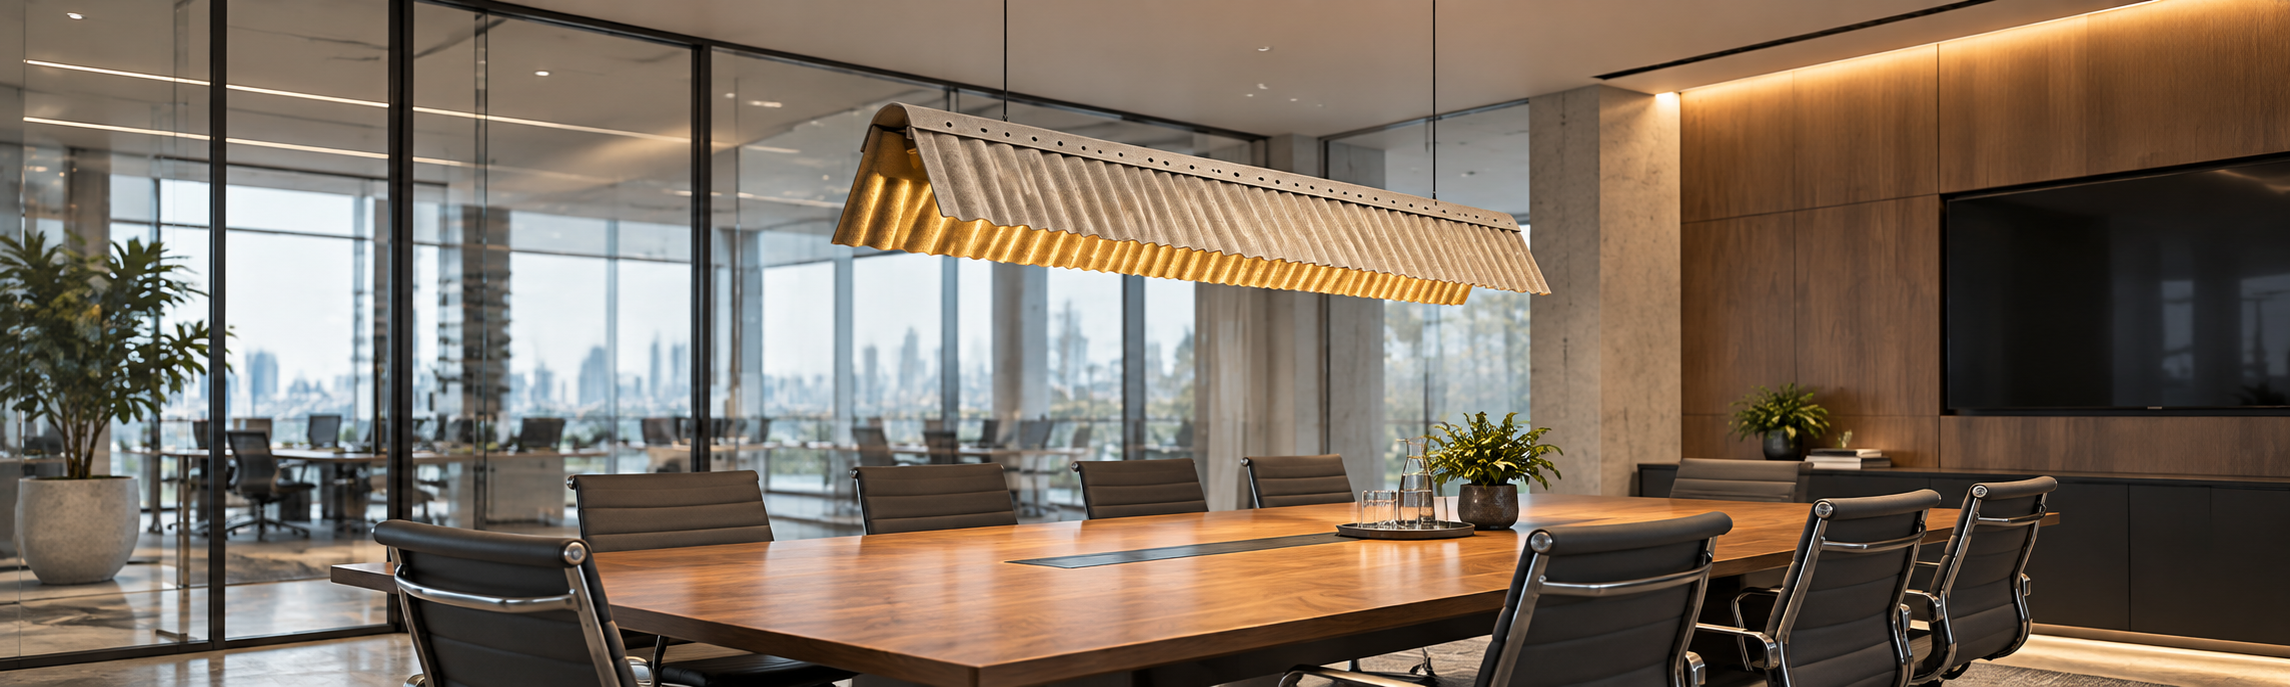

Use this acoustic lighting checklist to compare products, review a quote and prepare for approval. For a commercial project, identify the light, the absorbing surfaces and the mounting details.
A product name or room image cannot show that a fixture meets the brief. Check the available information for the exact model. Record missing items and agree who will resolve them before ordering.
1. Define the Room and Project Goals
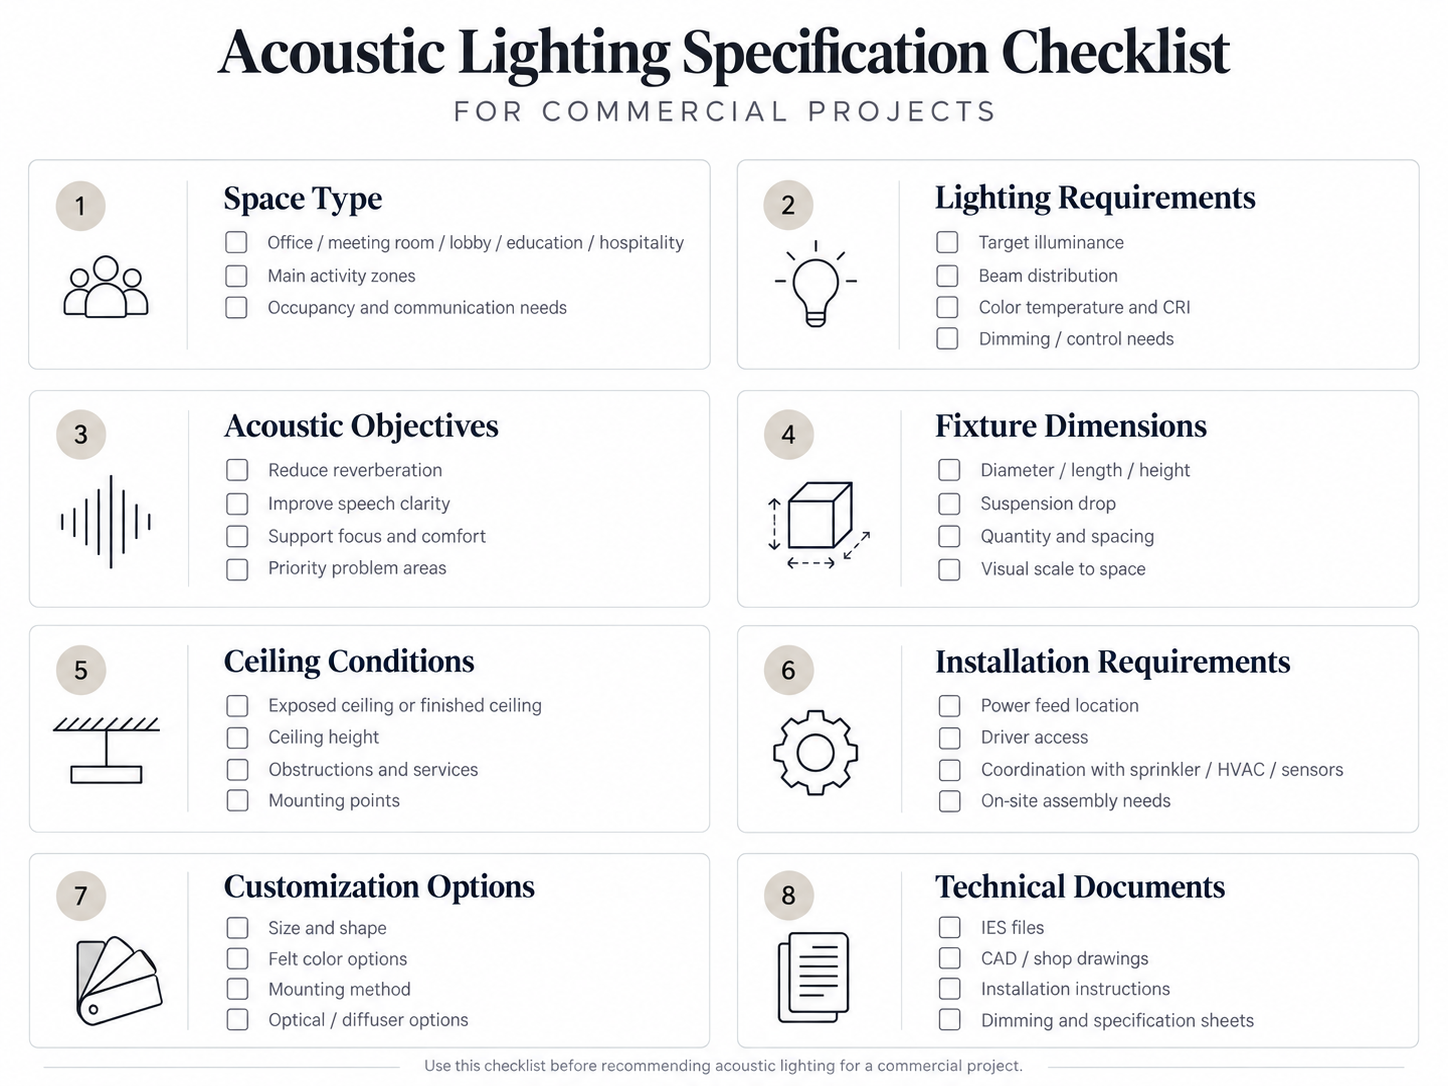
Start with a room plan, ceiling height, furniture layout and site photos. Record how people use the room and where they work or talk.
Agree the project objectives with the project team. Separate the lighting needs from the acoustic goals. For an existing room, note which finishes and ceiling elements the project scope allows you to change.
Check:
- Room use: Desks, meetings, reception, dining or shared activity.
- Lighting needs: Tasks, screen positions, daylight and control zones.
- Acoustic needs: Reflections within the room, speech distraction or noise passing between spaces.
- Site limits: Ceiling services, fixing locations and access for maintenance.
Sound absorption within a room and partition sound insulation serve different purposes. Include walls and doors in the review when noise travels between spaces.
2. Confirm the Exact Product
Ask the supplier to identify the model, size and version shown in the quote. Match these details to the drawing and product sheet.
Confirm the fixture length or diameter, overall depth and absorbing surfaces. Note any change to the standard product. A photo of a similar model is useful for appearance, but it is not proof of the quoted design.
3. Review the Lighting Specification
Give the lighting designer enough information to assess the proposed layout. Check these items for the selected model:
- Output and distribution: Light output, beam or distribution data, and relevant IES or LDT files.
- Visual comfort: Glare information, colour temperature and colour rendering.
- Controls: Driver, dimming method and how the fixture connects to the proposed control system.
- Supply: Electrical requirements and the product version for the intended market.
- Access: How the team can reach the driver and replace parts.
Ask which files the supplier can provide. Use them with the room plan and mounting height in the lighting calculation. Stated output alone does not show the light level at a desk or table.
4. Check the Acoustic Evidence
Ask what the test information covers: a material sample, an absorbing element or a complete fixture. Record the report, test method and tested mounting setup.
ISO 354 describes sound absorption measurement in a reverberation room. It covers materials and objects. This is different from proving the final acoustic result in your room.
Review:
- The tested material, thickness and exposed surfaces.
- The product size, number of samples and mounting arrangement.
- How the tested item compares with the model in the quote.
- Any limits or gaps in the evidence supplied.
Keep material test results separate from complete fixture results. A laboratory rating alone does not establish the room outcome. The project assessment also needs the fixture quantity, positions, room shape and other treatment.
If the brief sets a measured acoustic target, ask the acoustic consultant what evidence the design needs. Our guide to NRC, STC and CAC for acoustic lighting explains which ratings relate to absorption and which relate to sound insulation.
5. Plan Fixings, Services and Access
Confirm weight, fixing points, suspension range and power feeds. Agree who will check the ceiling supports and coordinate the installation.
Compare the layout with air outlets, sprinklers and access panels. Check sightlines and safe clearance at the proposed hanging height.
Allow access for cleaning and maintenance. Resolve site limits before approving the final fixture size and position.
6. Agree Finishes and Changes
Record the chosen colours and finishes. Use a sample where colour matching matters.
List requested size, material, lighting or control changes. Ask whether these changes affect the drawings, test evidence, price or lead time. Agree the revised details before production.
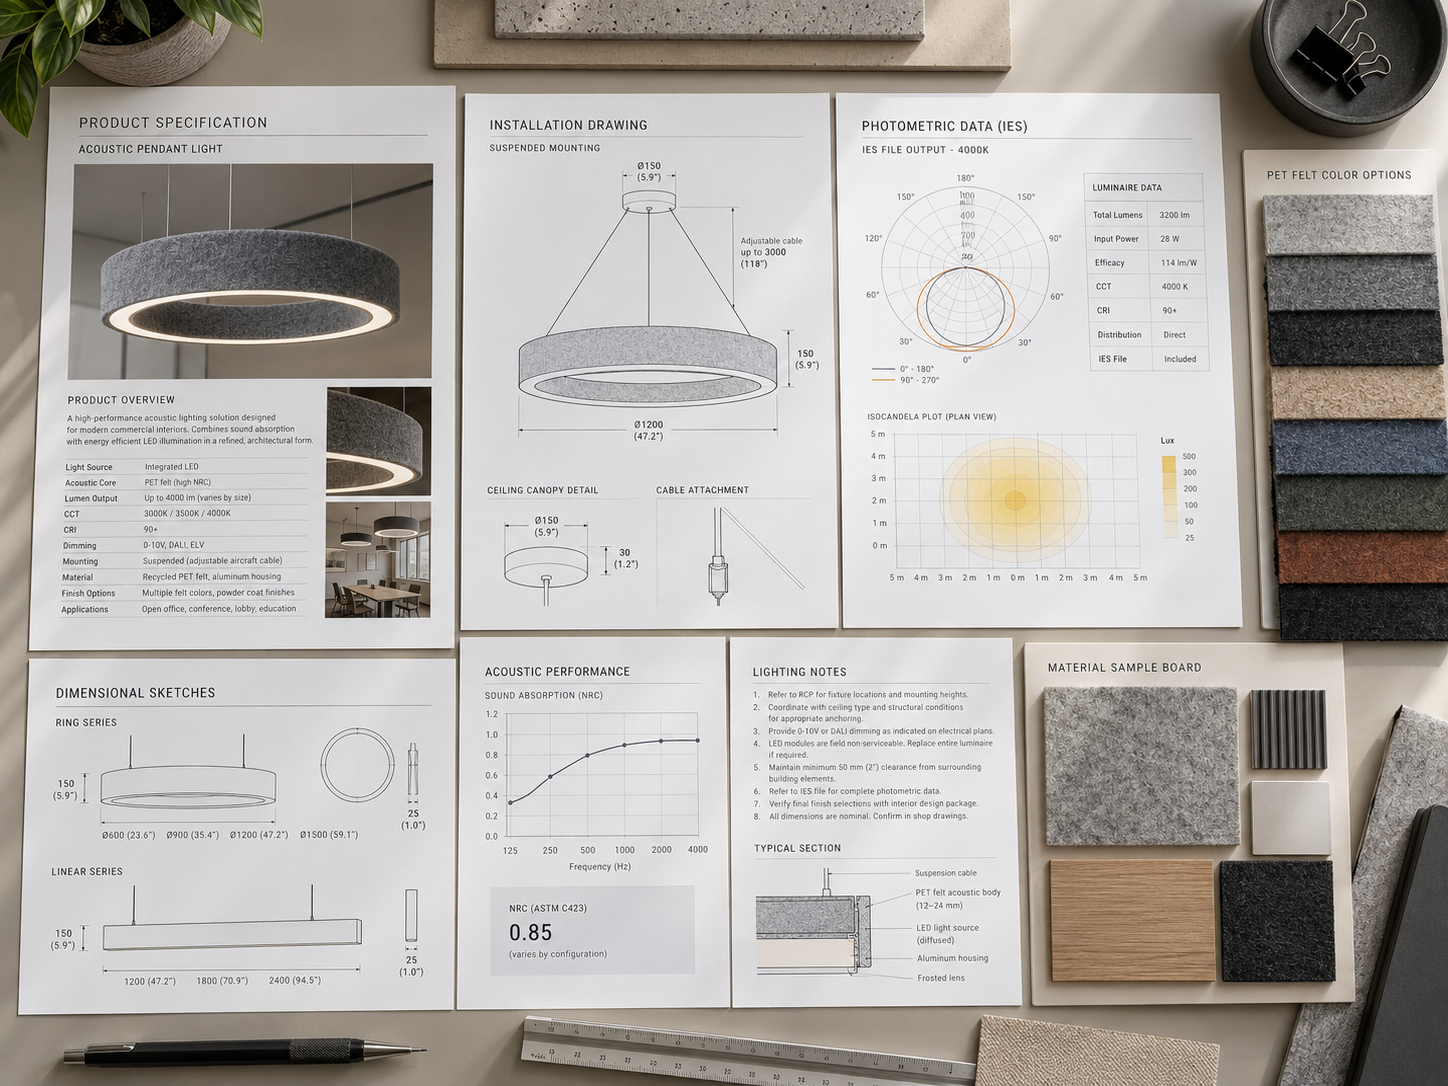
7. Track Approval Documents
Depending on the project, the approval pack may include drawings, product sheets, test reports and installation instructions. Confirm the required documents with the responsible reviewers.
Give each item a status: available, awaiting confirmation or not applicable. Record its date or version, the person responsible and the due date.
Clear roles and responsibilities help prevent an unresolved question from passing into the order. A catalog entry does not show that every supporting file exists for every model.
8. Close Gaps Before Ordering
Review the quote against the agreed product and room plan. Confirm the final size, finish, quantity, controls, delivery needs and approval documents.
For each open question, state what is missing and who will supply it. For example, a control option may remain unconfirmed until the supplier identifies the matching driver. Keep that item open until the reviewer accepts the answer.
Prepare Your Shortlist With TUER
Browse linear lights, pendant lights or ceiling and panel lights.
Contact TUER with your preferred models and room plan. Request the current catalog and list your outstanding questions. Confirm the information and options available for each model before approval.