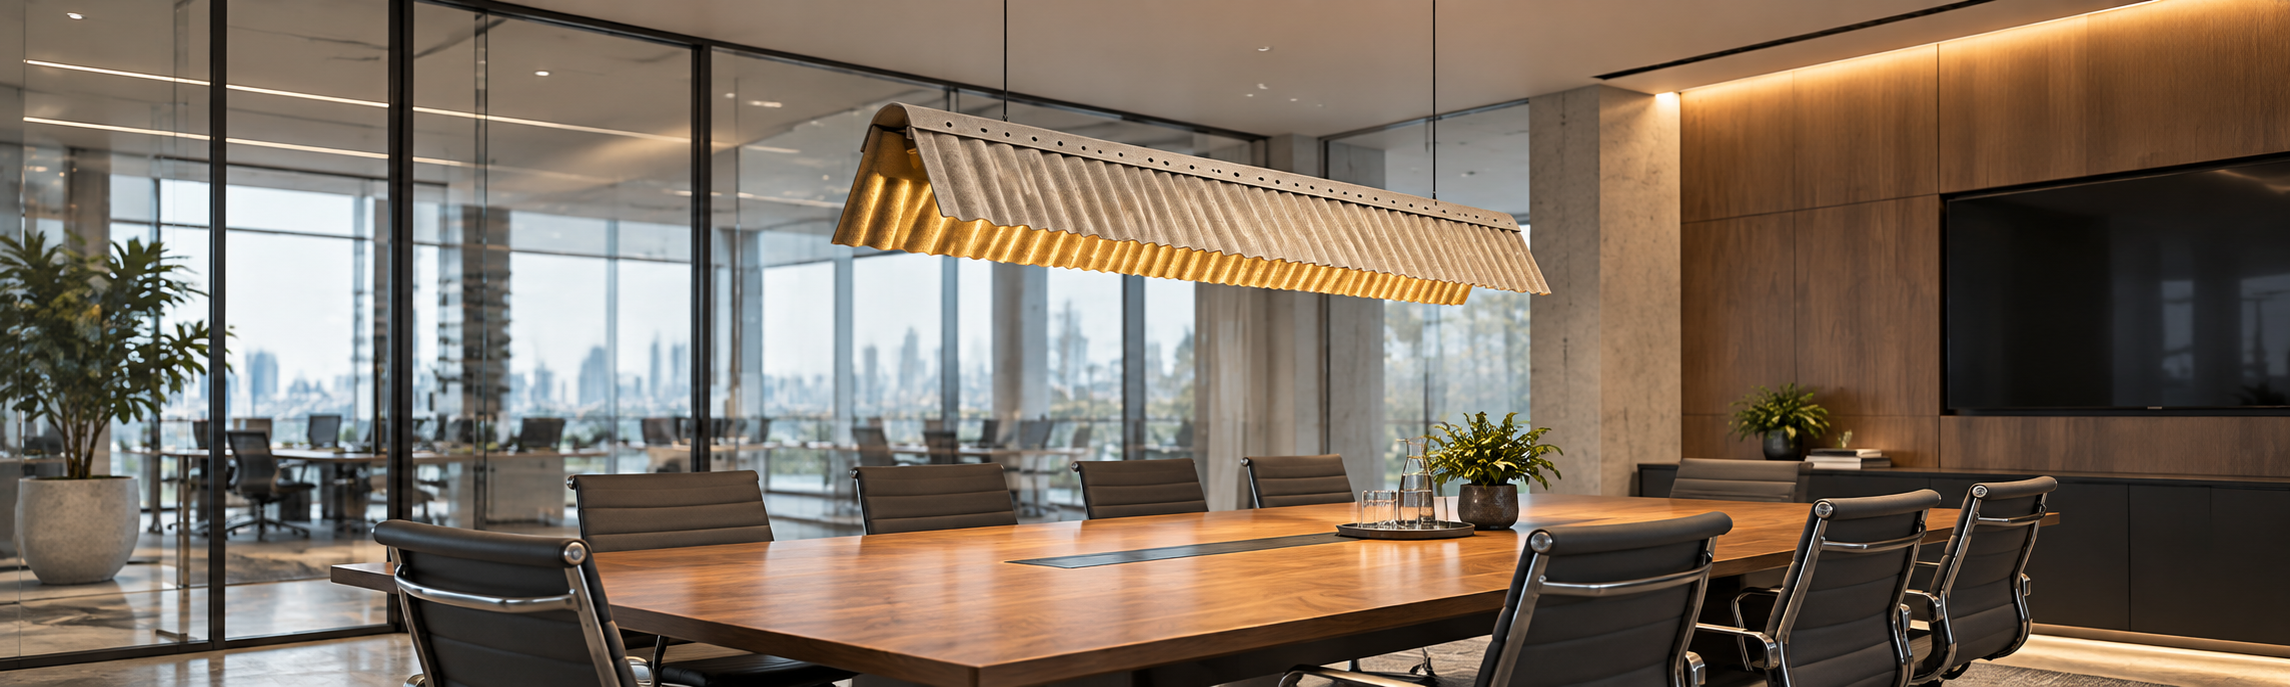

There is no single spacing distance that suits every acoustic pendant installation. Lighting coverage depends on distribution and mounting position. Acoustic contribution depends on absorbing surfaces, quantity, placement and the rest of the room treatment.
Start with the occupied area and furniture. Review lighting and acoustics separately before coordinating the final ceiling arrangement.
1. Start With the Activity Zones, Not the Ceiling Grid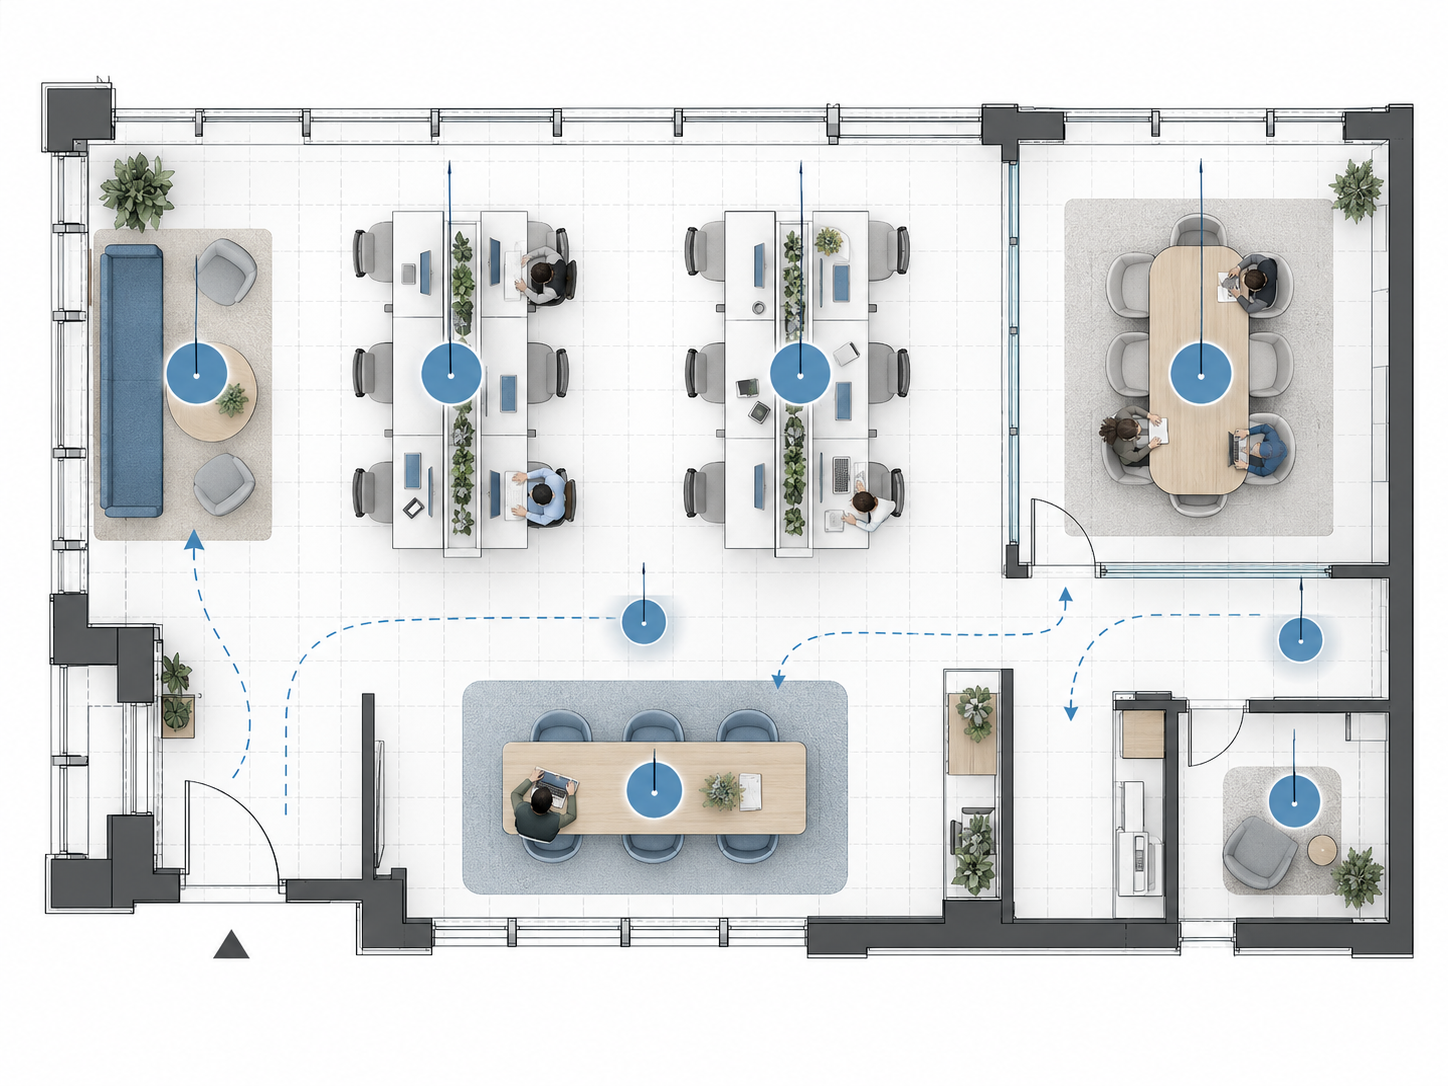
Mark tables, occupied seats, work areas and circulation. A visual grid can be useful for coordination, but should not take priority over where people need light or where absorbing surfaces can contribute.
Identify whether the layout serves one table, several furniture groups or a larger open area. Describe the activities before setting fixture positions.
2. Calculate Spacing From the Actual Mounting Height and Photometrics
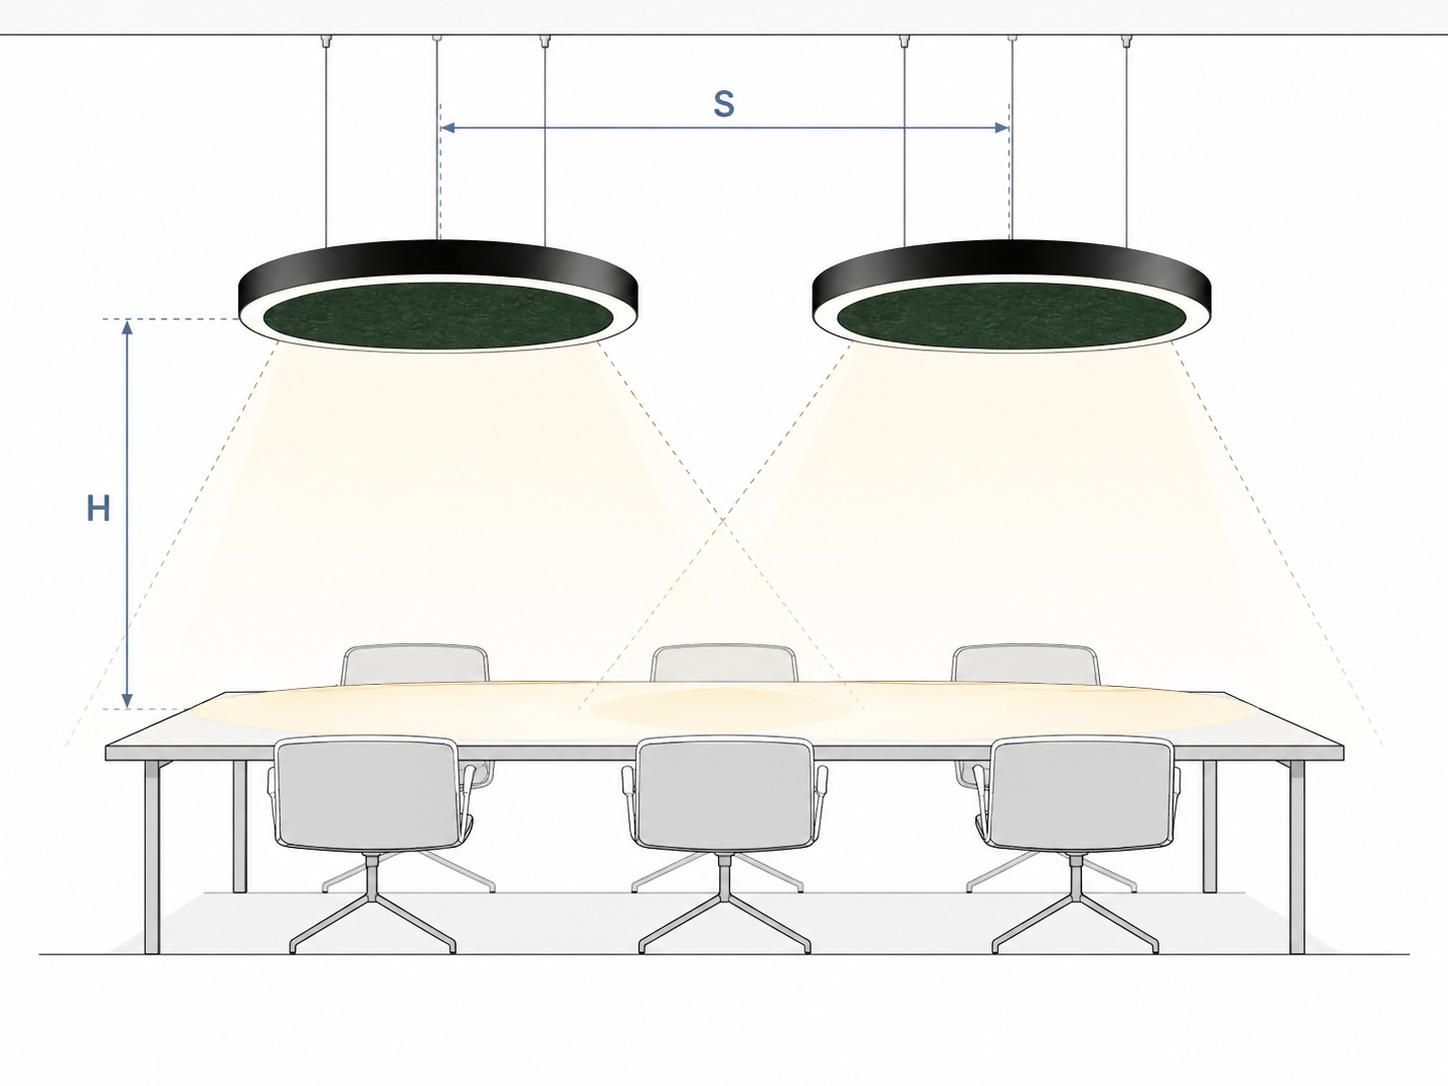
Confirm the information available for the proposed fixture configuration. The lighting assessment should use the actual mounting position, distribution, room surfaces and task requirements.
Do not select a spacing from an unrelated product image. Where photometric information is needed but unavailable, resolve the assessment inputs before approving the layout.
3. Treat Acoustic Spacing as a Separate Design Check
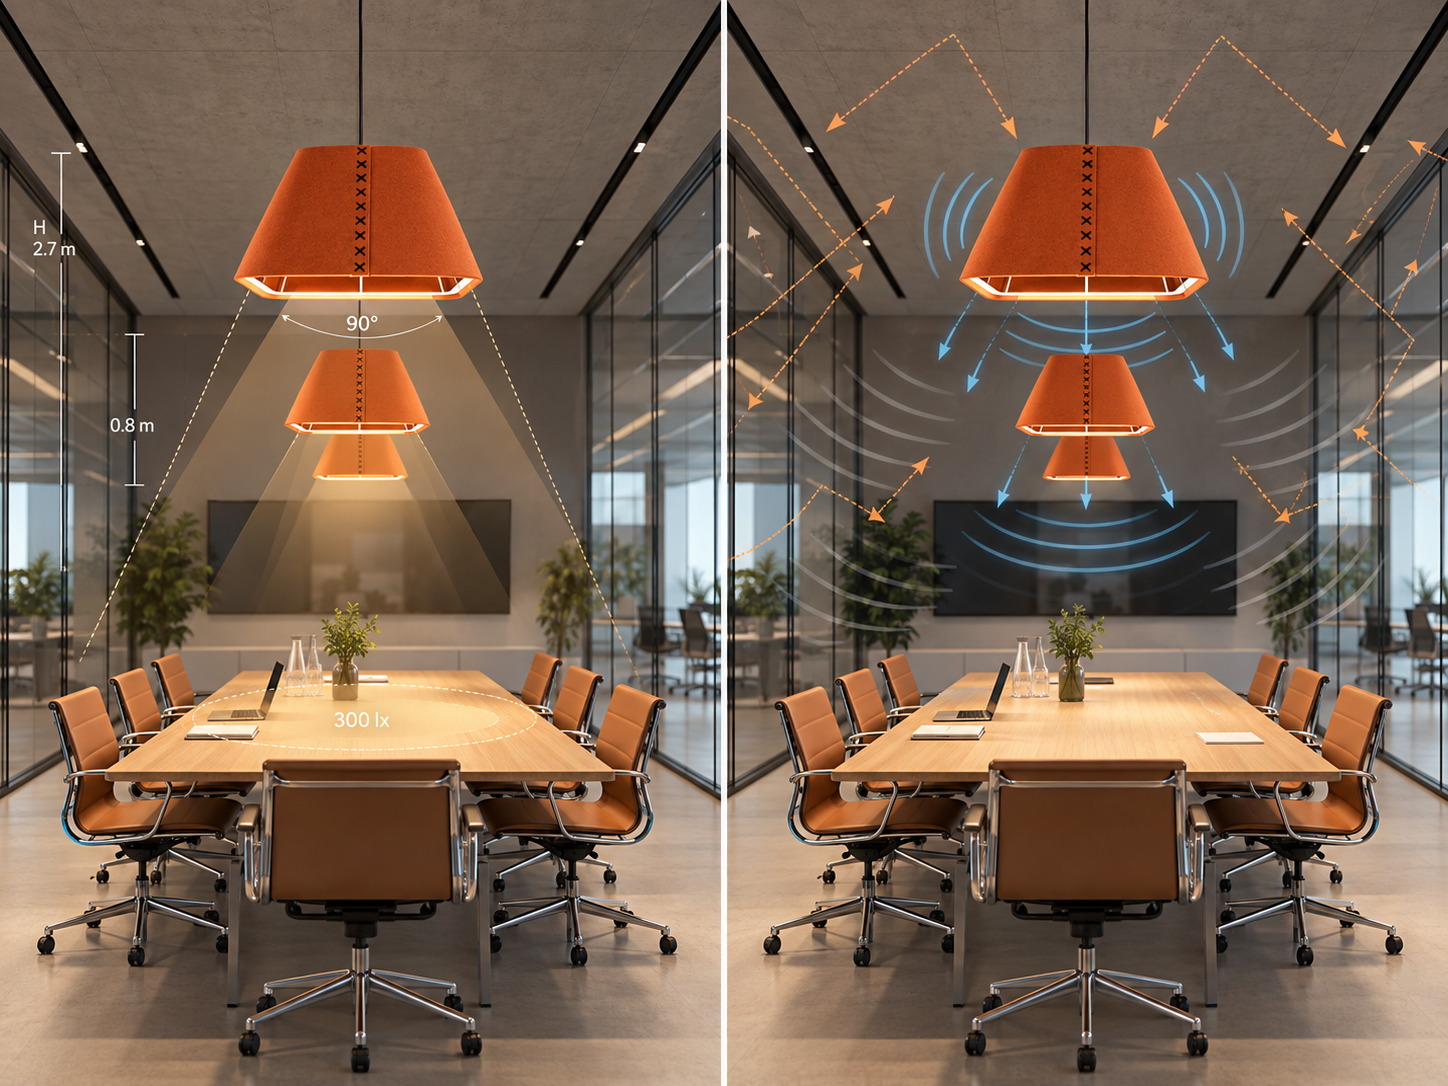
Consider the absorbing surfaces alongside room geometry, finishes and other treatment. A satisfactory lighting arrangement does not automatically establish satisfactory acoustic treatment.
If the project requires a measured acoustic target, identify the product information and room assessment needed to support that target.
4. Set Suspension Height Around People and Sightlines
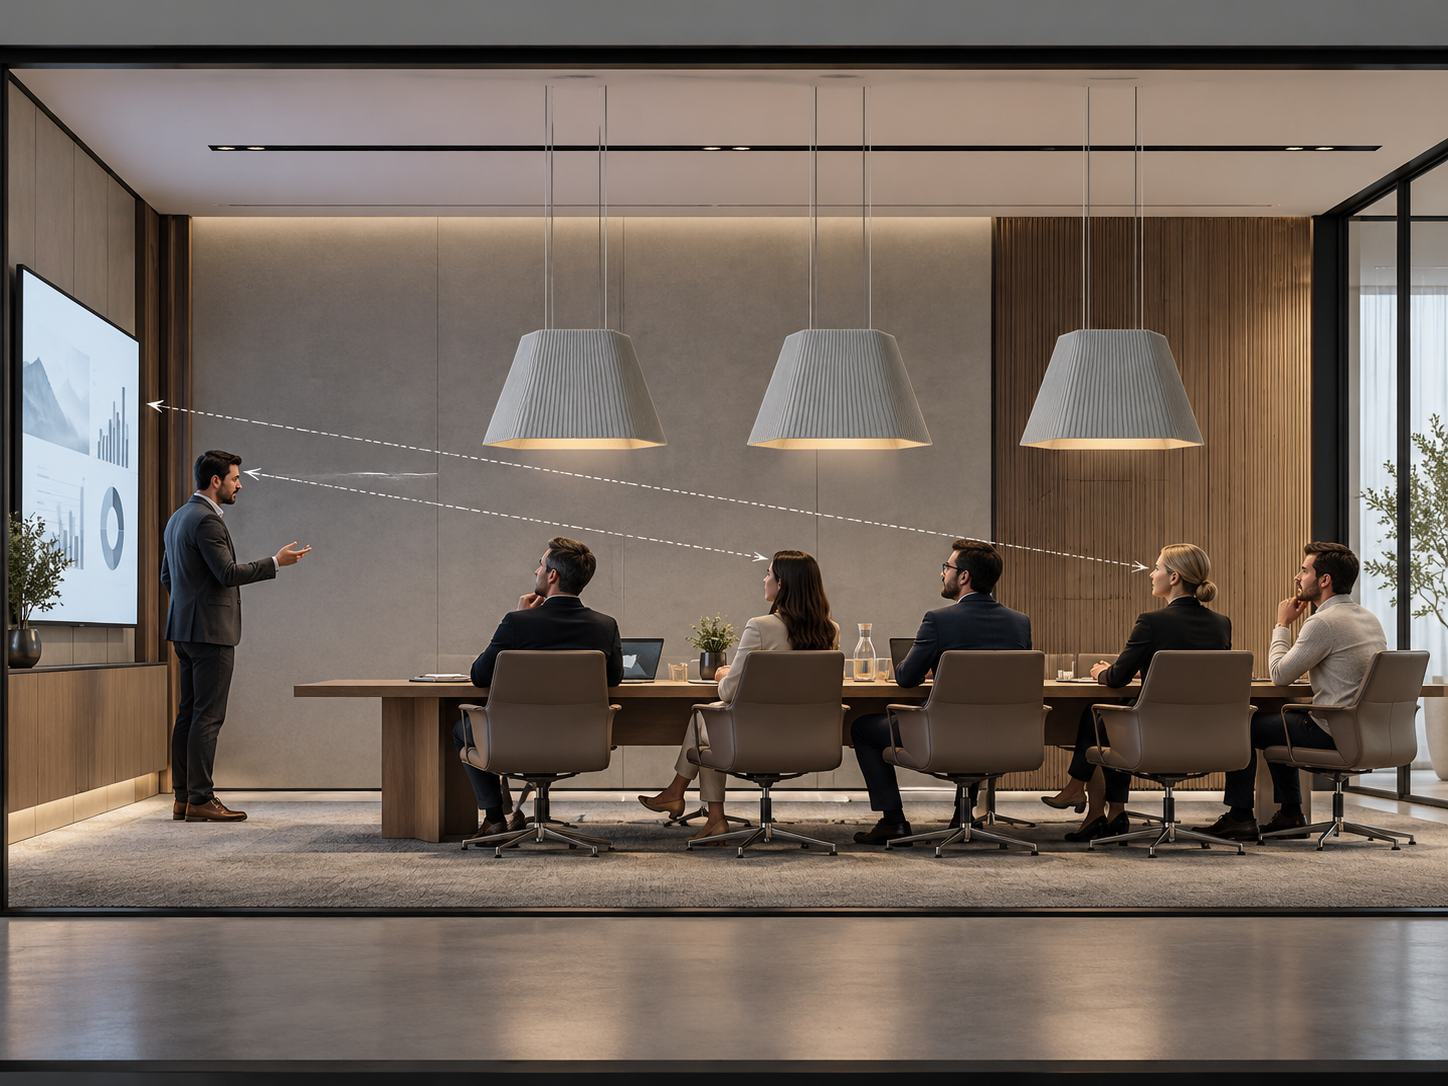
Review seated and standing views, screens, movement and access. Confirm the available suspension arrangement and coordinate it with structure and services. A decorative hanging height should not replace the required lighting and installation checks.
Record ceiling height, the height of the table or work plane, fixture depth and the proposed suspension length on the same drawing. Check the lowest point of the fixture against seated and standing sightlines, screens and circulation.
5. Match the Layout Pattern to the Room
Compare a central fixture, aligned rows or a cluster against the furniture plan. For wider workplace arrangements, see the office layout guide.
Half Dome Acoustic Pendant Light — TR-XYM-0154
Use the Half Dome model as a starting point when comparing dome forms above a table. Confirm the approved dimensions, suspension arrangement and E27×1 light-source configuration before reviewing its position. Do not derive spacing from the shade shape alone.
Cylinder Cluster Acoustic Pendant Light — TR-XYM-0126
When considering the Cylinder Cluster model, distinguish the product’s cluster form from a group of separate pendants. Ask for the overall dimensions and mounting arrangement before treating it as several independently positioned fixtures.
Teardrop Acoustic Pendant Light — TR-XYM-0041
Compare the Teardrop model with the seating group’s scale and sightlines. Review the approved size, suspension position and light distribution before repeating it in a row or group.
These examples illustrate layout questions, not a fixed fixture count or spacing recommendation. The public product pages currently list E27×1 and Non-dim for these models; confirm the exact order configuration and the information available for assessment.
6. Coordinate the Spacing With Other Ceiling Services
Check fixing positions, power feeds, ventilation, fire safety systems and maintenance access with the project team. Use the ceiling types guide to prepare installation questions.
7. Use a Two-Pass Layout Workflow
First assess the proposed lighting arrangement. Then review the acoustic contribution and revise the design where necessary. Complete service and installation coordination before approval.
For illustration, consider one meeting table in a partly glazed room. Record occupied seats, ceiling height and the proposed mounting position; review lighting inputs; identify existing absorption; assess whether additional surfaces are needed elsewhere. This sequence does not prescribe a fixture count or spacing distance.
Common Acoustic Pendant Spacing Mistakes
- Applying one distance rule to different fixtures and rooms.
- Choosing quantity from appearance alone.
- Assuming a lighting calculation also verifies acoustics.
- Ignoring screens, services and maintenance.
Plan Your Acoustic Pendant Lighting With TUER
Compare the acoustic pendant collection, then share your room and furniture plan with TUER. Include ceiling height, table or work-plane height, proposed fixture locations, shortlisted models, lighting controls and destination country. Request the full catalogue and confirm the product information available for a layout review and project quotation.